
heart cake
Celebrate love with our heart cake—moist, tender, and perfect for any occasion. This easy recipe guarantees a stunning, delicious treat every time!
Equipment
- Heart-Shaped Cake Pan: The must-have tool to create a perfectly defined heart shape
- Cake Decorating Tools: Piping tips and bags for professional frosting finishes
- Oven: Preheated to the right temperature (more on that below)
- Cake Board or Stand: For a beautiful presentation once your cake is done
Ingredients
Dry Ingredients:
- 2 ½ cups Flour
- 2 ½ teaspoons Baking Powder
Wet Ingredients:
- 3 large Eggs
- 2 Teaspoons Vanilla Extract aromatic flavor
- 1 cup Milk: whole or 2% milk works best
- ½ cup Butter melted or a suitable non-dairy substitute
Sweeteners:
- 1 ½ cups Granulated Sugar
- 1 to 1 ½ cups Buttercream Frosting homemade or store-bought can work wonders
- Pink Food Coloring red, and white (if you want to create a pink heart cake or add multiple hues)
- Fondant Decorations Optional for a sleek finish
- Sprinkles and Edible Pearls For that extra touch of whimsy
Instructions
Preparation Steps
- Start by preheating your oven to 350°F (175°C). While the oven warms up, grease your heart-shaped cake pan with butter or non-stick spray to prevent any sticking.
- Lay out your cake decorating tools, including piping bags, tips, and a spatula.
Cooking Process
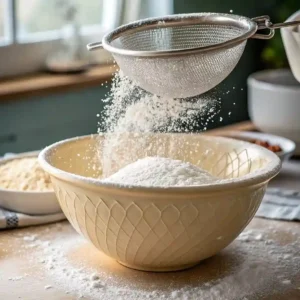
- Mix the Dry Ingredients: In a large mixing bowl, sift together 2 ½ cups of all-purpose flour and 2 ½ teaspoons of baking powder. Sifting helps to aerate the flour, contributing to a fluffy heart cake texture.
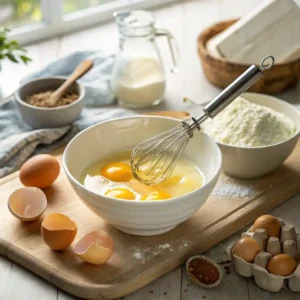
- Blend the Wet Ingredients: In a separate bowl, beat 3 large eggs until they are light and frothy. Add 1 ½ cups of granulated sugar and mix until the blend becomes pale and creamy. Stir in 2 teaspoons of vanilla extract, then gradually mix in 1 cup of milk and the ½ cup of melted butter.
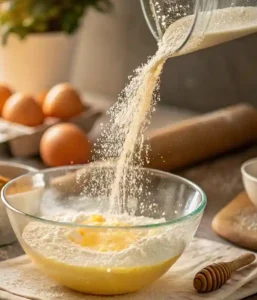
- Slowly incorporate the dry ingredients into the wet mixture. Use a whisk or a hand mixer on low speed to avoid over-mixing, which can lead to a dense cake. Mix until just combined—small lumps are okay; they’ll disappear during baking.
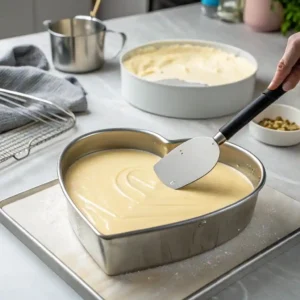
- Pour and Bake: Carefully pour the batter into your prepared heart-shaped cake pan. Use a spatula to smooth out the top, ensuring an even surface. Place the pan in the oven and bake for 30 to 35 minutes. Insert a toothpick into the center—if it comes out clean, your cake is done!
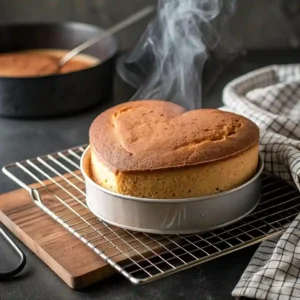
- Cooling Down: Once baked, remove the cake from the oven and let it cool in the pan for 10 minutes. Then, transfer the cake onto a cake board or stand to cool completely. Cooling is essential, as a warm cake may cause your frosting to melt or slide off.
Finishing Touches & Serving Suggestions
- Frosting the Cake:With your cooled cake ready, prepare your buttercream frosting. Using a spatula or a piping bag loaded with a decorative tip, apply a generous layer of frosting over the top and sides. For a refined look, smooth out the frosting or create decorative swirls and rosettes.
- Decorative Elements: Add fondant decorations, sprinkles, and edible pearls to enhance the appearance. If you want to mimic a vintage style, try adding subtle touches of gold or silver edible paint. This is also the stage to craft additional heart cakes for birthdays or mini heart cakes variations by adding small, individual decorations.
- Presentation:Place your beautifully decorated cake on a stylish cake board or stand to showcase it as the centerpiece of your celebration. Serve with confidence knowing that your DIY heart cake not only tastes heavenly but looks as if it was made by a professional.
Notes
For a lighter cake, use cake flour or dairy-free alternatives. Let it cool fully in the pan before transferring. Store in an airtight container for up to 3 days.